Monday, September 10, 2012

Hot Spinach Salsa Queso Dip


Review by Lyndee:

10 ounces frozen chopped spinach, thawed and drained
1 lb Velveeta cheese (2% fat--this is the reduced fat version)
8 ounces cream cheese (light)
1 jar salsa (I used 3/4 full jar of a 16 ounce jar)
A handful of chopped cilantro (optional-but good)


1) Cut the Velveeta and cream cheese into cubes and place all ingredients in an oven safe dish and bake until the dip is heated through--continuing to stir to mix all ingredients.
2) OR, you can place all ingredients in a crockpot and heat until cheese has melted (continuing to stir the mixture to combine ingredients). This particular method is great if you can leave it on the low setting--then your dip will stay warm for a while. But I bet it won't last!
3) Serve warm with tortilla chips.


I chose the crockpot option. It was easy enough to make but it’s a little expensive for a dip.  Velveeta is $6 a box, $1 for cream cheese, $1.75 for spinach, $3 for salsa, 99 cents for cilantro and $3 for a bag of chips, so almost $15 for a dip.  And it wasn’t my favorite.  It’s VERY cheesy.  I love cheese, it’s like my favorite food group but this was really thick and all you could taste was the velveeta.  Next time I would scale back the velveeta, add another cream cheese and more salsa so it wasn’t so thick and gloppy.  

Melt in your mouth chicken and mozzarella sticks


Review by Lyndee:
Melt in Your Mouth Chicken Breast 

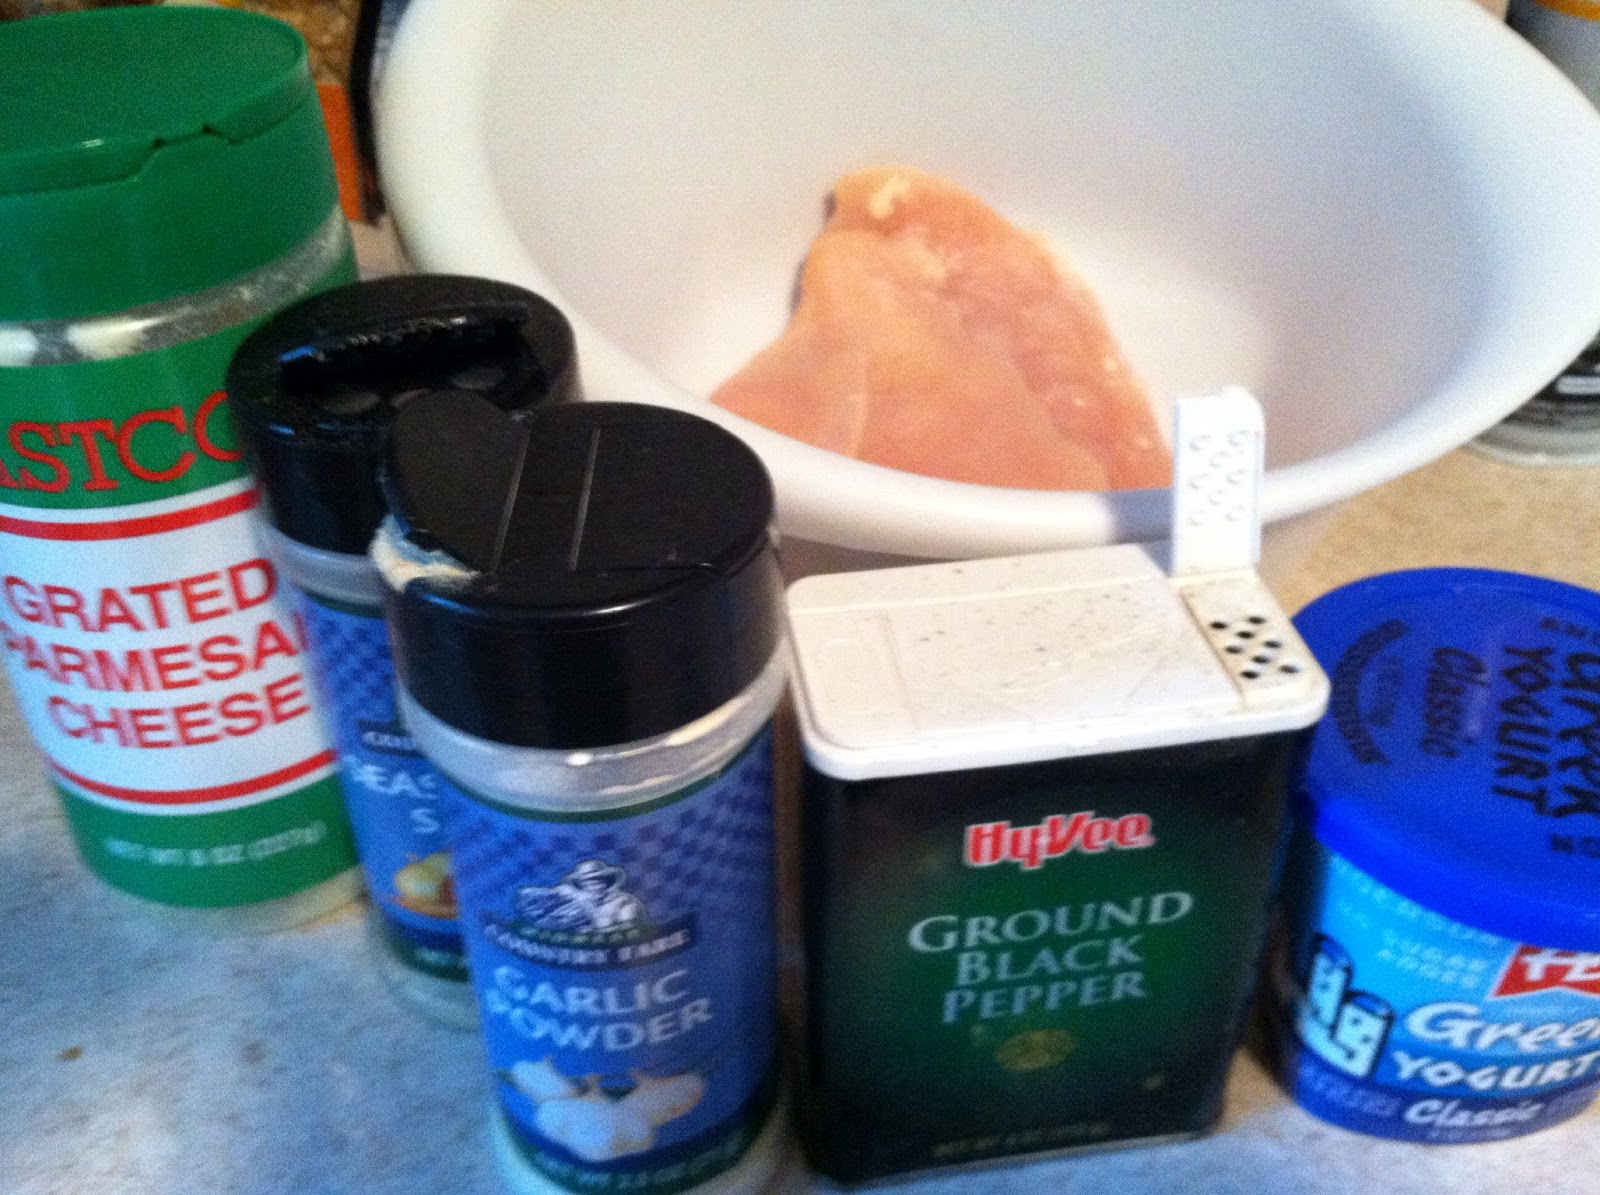
3 chicken breasts
½  c parmesan cheese
1 c Greek yogurt
1 tsp garlic powder
1 ½  tsp seasoning salt
½  tsp pepper

Mix ingredients together and spread over chicken breasts.  Bake at 375 for 45 mins. 

This chicken was to die for! I wasn’t sure what to think when I put it in the oven because it looked a little bit like slop.  Also, I’m not a fan of greek yogurt.  But when this came out it was a brown, crispy delicious dinner that tasted just like a fried chicken parmesan.  I couldn’t believe it.  It felt like it was literally melting on your tongue.  I used a bit of marinara for dipping and next time I will pair it with some spaghetti squash.  Cheap to make, easy to do and totally worth it.  


Baked mozzarella bites
Review by Lyndee:
Healthy baked mozzarella bites

4 sticks string cheese
½ cup skim milk
½ cup Italian bread crumbs

I didn’t have Italian bread crumbs so I used regular ones and added Italian seasoning and garlic.  I cut the mozzarella sticks into three pieces per stick, dipped, rolled and threw them on the pizazz for about 8 minutes.  You can do them in the oven at 450 degrees too.  They were ok, nothing spectacular.  The flavor was there but the cheese started oozing before the outside became a crispy golden brown.  After I ate them I did some internet research and found that if you use frozen string cheese it works better because it won’t ooze prematurely. Next time I will try that. This is a much healthier version than you would get a restaurant because it’s not fried and you can use reduced fat cheese.  It’s a pretty cheap and quick to make treat as well.  I will attempt these again.  


Moscato Punch

Review by Lyndee:
Ingredients:
2 bottles Moscato
1 pink lemonade concentrate
3 C of Sprite (more or less, depending on your taste)
Fresh raspberries or strawberries (optional)

Empty all ingrediants into a pitcher of ice and stir.  This was good but we were looking for something more so we added two shots of Bacardi Limon and one more cup of Sprite.  That made the punch perfect.  Careful though, it goes down very smooth and doesn’t taste like alcohol so it could be dangerous if you don’t pace yourself or aren’t used to wine.  If you don’t have Bacardi you could add a vodka or UV. This would be perfect for a shower, brunch or a summer night on the deck.    

Caramel Corn Crack -- Get Your "Fix"

By Melody
This is probably my favorite test thus far...and the most delicious!  This would make the perfect snack to bring along to a party, or in our case, the Super Bowl of Iowa.  The original recipe that I found called for Corn Pops or any hull-free popcorn -- I used Puff Corn.  Since the recipe calls for a 1/2 pound of butter, the end result tastes quite buttery, but I (unfortunately) LOVE that taste.  I will definitely make this recipe again, and use the same amount of butter.  Here's what you'll need:


  • About 8 ounces of Puff Corn (or Corn Pops)
  • 2 Sticks of Butter
  • 1 Cup Brown Sugar
  • 1/2 cup Light Karo Syrup
  • 1 tsp. Baking Soda
  • 1 Cup Cashews (optional)
Melt the butter.  Stir in the brown sugar and karo syrup.  Stir for about two minutes more.  Then add the baking soda and stir until the mixture becomes a nice foamy consistency.  Watch my video for more demonstration.  Then, pour the caramel mixture over top of the puff corn in a big bowl.  Mix well.  Then, place on a cookie sheet.  Place in the oven at 250 degrees for 45 minutes.  Every 15 minutes stir the mixture. 

http://www.youtube.com/watch?v=LGXcRJ8R3mI
http://www.youtube.com/watch?v=Mz7QW8proeE
We had some technical difficulties so this is two videos.  The 2nd one has some great tips for general baking too!

Beware -- this will be gone before you know it!  The name of this snack is definitely fitting -- it's addicting and leaves you wanting more.  You'll start to have the shakes after a bit of withdrawal sets in.  Enjoy....at your own risk!!


Fried Pickles -- Not Quite Like the Ones You Get at the Fair!

By Melody
I tried a fried pickles recipe that sounded delicious.  They were good, but I think I was expecting something like I get at the fair.  That could have been my first mistake since nothing tastes as good as the fair!  The batter could have been a little more crunchy, and seemed a bit heavy.  I used 3/4 cup of light beer in my recipe, and 1 cup flour.  Next time, if I try this again, I would go with a regular beer, and use 1 Cup regular beer and 1 Cup flour.  That might add a little crisp to the pickle chips when fried.  These looked delicious when done!  I know this sounds crazy, but I would definitely make sure to sprinkle them with salt when finished, and the ranch dipping sauce was a nice pairing with this appetizer. 


Saturday, September 8, 2012

Alert!

We are whipping up some awesome tailgate recipes today! Video tutorials and blog reviews coming soon!!

Friday, September 7, 2012

Uh oh cookie dough & a delicious dip


Review by Lyndee:
Everyone in Iowa seems to be wearing an Iowa or Iowa State t-shirt today.  Tomorrow is the “super bowl” of college football here in the state with rival Hawkeyes and Cyclones.  In honor of this day we are having a tailgate food day at work where everyone brings in a dish to share and sports their favorite colors. I am, of course, in my Iowa black and gold.  Last night after work and hours of running around with the kiddos I made two things for today.  The first was the cheddar bacon dip.  The pinner wasn’t lying when they said it was a bit like crack. Holy cow this thing was super simple to make and the bite I had to taste test was to die for!  This would be a super simple dip for tailgating. Make it the night before, refrigerate and then serve at tailgating with chips, crackers or veggies. 

Cheddar Bacon Dip
16 oz sour cream
1 packet Ranch dressing mix
3 oz bacon bits (in the bag not jar)
1 cup shredded cheddar cheese

Mix together and refrigerate 24 hours. Serve with chips, crackers or veggies. You could reduce the fat with a light sour cream and reduced fat cheese too! 


Next I tried the Rolo stuffed cookies.  The recipe called for snickerdoodle dough, which I couldn’t find at the grocery store so I went with sugar cookie. I mean, come on, you can never really go wrong with sugar cookie, right? 

Rolo Stuffed Snickerdoodles
1 batch store-bought or homemade snickerdoodle dough
2 rolls of Rolo’s (16 candies)

Preheat oven to 325 degrees. Flatten 1 tablespoon dough and wrap around Rolo candy. Roll into ball and set on cookie sheet.

First of all, my sugar cookie dough was really sticky. I’m not sure why. I went straight from the refrigerated aisle at the store and home to bake it.  The first roll I did the way I was instructed on a cookie sheet.  Something just told me they weren’t going to go as smoothly as planned, so I did the second batch in mini muffin tins.  They sure looked cute going in the oven.  They smelled awesome when they came out too. But when I went to remove them, they were breaking apart in the tins.  And the cookies on the sheet all melted into one giant oddly shaped cookie.  Don’t believe me?  Yeah, check out the video to see just how odd they look. 


Good news is, they still tasted really good.  So hooray for that.  A for taste, D on presentation.  Hey, at least I didn’t burn them.  I’m taking that as a win.